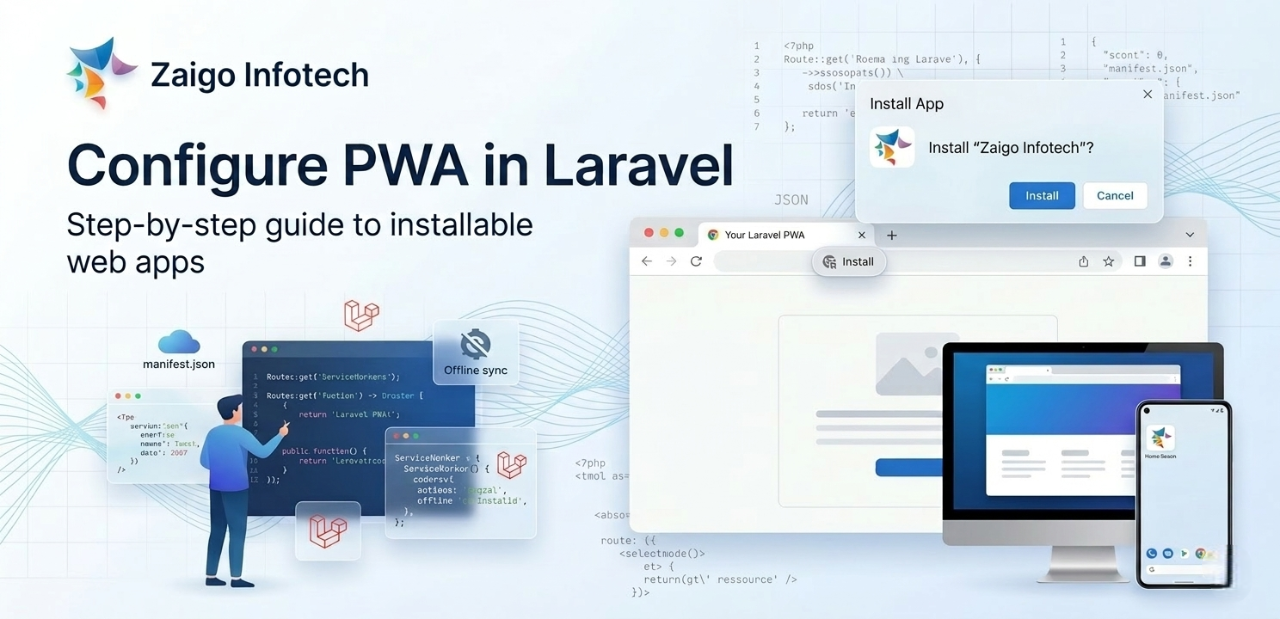
Configure PWA in Laravel: Build an Installable, App-Like Experience
Progressive Web Applications (PWAs) enable web applications to deliver an app-like experience directly through the browser. With features such as offline access, installability, and improved performance through caching, PWAs are a valuable enhancement for modern Laravel applications.
This guide explains how to configure a PWA in Laravel using two approaches:
- Using a Composer package (quick setup)
- Manual implementation (full control)
Introduction to PWA
A Progressive Web App is a web application enhanced with modern browser capabilities to behave like a native application. It relies primarily on two components:
- Web App Manifest (defines app metadata such as name, icons, theme)
- Service Worker (handles caching, offline support, and background processes)
Prerequisites
Before proceeding, ensure the following:
- Laravel project is already set up
- Application is served over HTTPS (required for service workers)
- Basic understanding of Blade templates and public assets
Method 1: Using Composer Package
This is the quickest way to enable PWA functionality in Laravel.
Step 1: Install Package
Run the following command:
composer require silviolleite/laravel-pwa
Step 2: Publish Configuration
php artisan vendor:publish --provider="LaravelPWA\Providers\LaravelPWAServiceProvider"
This will generate a configuration file:
config/laravelpwa.php
Step 3: Configure PWA Settings
Update the configuration file:
return [
    'name' => 'Zaigo Infotech',
    'short_name' => 'Zaigo',
    'start_url' => '/',
    'display' => 'standalone',
    'background_color' => '#ffffff',
    'theme_color' => '#0d6efd',
    'orientation'=> 'portrait',
    'status_bar'=> 'black',
    'icons' => [
        [
            'src' => '/images/icons/icon-192x192.png',
            'sizes' => '192x192',
            'type' => 'image/png'
        ],
        [
            'src' => '/images/icons/icon-512x512.png',
            'sizes' => '512x512',
            'type' => 'image/png'
        ]
    ]
];
Step 4: Add Icons
Place your icons inside:
public/images/icons/
Ensure you include at least:
- 192×192
- 512×512
Step 5: Include PWA Meta Tags
In your main Blade layout:
<head>
    @laravelPWA
</head>
Step 6: Verify Installation
Open your website in Chrome. If configured correctly:
- You will see the install icon in the address bar
- An install popup will appear
Method 2: Manual PWA Setup (Recommended for Full Control)
This approach provides better flexibility and understanding of how PWA works internally.
Step 1: Create Manifest File
Create a file:
public/manifest.json
Add the following content:
{
  "name": "Zaigo Infotech",
  "short_name": "Zaigo",
  "start_url": "/",
  "display": "standalone",
  "background_color": "#ffffff",
  "theme_color": "#0d6efd",
  "orientation": "portrait",
  "icons": [
    {
      "src": "/images/icons/icon-192x192.png",
      "sizes": "192x192",
      "type": "image/png"
    },
    {
      "src": "/images/icons/icon-512x512.png",
      "sizes": "512x512",
      "type": "image/png"
    }
  ]
}
Step 2: Link Manifest in Blade
Inside <head>:
<link rel="manifest" href="/manifest.json">
<meta name="theme-color" content="#0d6efd">
Step 3: Create Service Worker
Create a file:
public/service-worker.js
Example:
const CACHE_NAME = "zaigo-pwa-v1";
const urlsToCache = [
    "/",
];

self.addEventListener("install", event => {
    event.waitUntil(
        caches.open(CACHE_NAME)
            .then(cache => cache.addAll(urlsToCache))
    );
});

self.addEventListener("fetch", event => {
    event.respondWith(
        caches.match(event.request)
            .then(response => response || fetch(event.request))
    );
});
Step 4: Register Service Worker
Add this before closing </body>:
<script>
if ('serviceWorker' in navigator) {
    navigator.serviceWorker.register('/service-worker.js')
    .then(function(registration) {
        console.log('Service Worker registered:', registration);
    }).catch(function(error) {
        console.log('Service Worker registration failed:', error);
    });
}
</script>
Step 5: Add Icons
Place icons in:
public/images/icons/
Step 6: Enable Install Prompt (Optional Enhancement)
To control install popup:
let deferredPrompt;

window.addEventListener('beforeinstallprompt', (e) => {
    e.preventDefault();
    deferredPrompt = e;

    // You can trigger this on button click
    document.getElementById('installBtn').style.display = 'block';
});

document.getElementById('installBtn').addEventListener('click', () => {
    deferredPrompt.prompt();
    deferredPrompt.userChoice.then(choiceResult => {
        deferredPrompt = null;
    });
});
Common Issues and Fixes
- PWA not showing install option
Ensure HTTPS is enabled and manifest is correctly linked. - Service worker not registering
Verify file path and check browser console. - Icons not appearing
Confirm correct sizes and file paths.
Conclusion
Implementing a PWA in Laravel enhances user experience by providing faster load times, offline capabilities, and installable web applications.
For quick integration, the Composer package is suitable. For production-grade applications where customization is required, the manual approach is recommended.